Now, all this card needs is a little cash inside it so I can send it on it's way. It's quite a bit late...But, she knows that I love her so it'll be okay. :)

Welcome to my happy place. A place to laugh, create and play. Please come in and sit down with your favorite treat and beverage...I hope you enjoy the visit.


 In honor of July 4Th- I made these Flag Luminaries. I bought the flags at Michael's ( got them for 50% off, so I spent a total of $2 for the four mini flags). I re purposed two glass jars ( they're the same size )- used spray adhesive on the flags to glue them to the jars. Then Mod Podged the flags ( making sure I didn't get any on the jar) to make sure the flags didn't come off the jar. I found the idea on the Mod Podge blog.
 Here's a close up of the luminaries. I wrapped twine ( I bought a large spool from the hardware store a few years ago- for about $4 I've been able to use it on countless projects) around the lip of the jars several times. The smaller jar is one I frosted last year using a template I created with my Cricut. I needed something smaller to set off the luminaries (*things always seem to look better in sets of three*).
 Here's a birds eye view of the luminaries- all lighted up. This project came together easily- with very little mess ( though, my fingers did get sticky when I used the spray adhesive! Not really sure how to avoid that..)- I'm excited to try it again using pieces of scrap material. Looks like a trip to Joann's is in my future. I need to check out their remnants section.
 The brown polka dot layout above is the most recent one I've done. I made it for my sister Rae for my new niece's bedroom. A welcome to our family layout. I used the brown "paper" because she's wearing a brown outfit in several of the pictures ( and also because my sister hates pink).
 This green one is actually my very first attempt at digital scarp booking. It was a little frustrating at first- mostly because it took a little time ( HUGE learning curve, remember) for me to figure out how to delete items that I didn't like. All in all, not bad for my first attempt.
 These pictures were taken with my cell phone camera. They turned out better than I expected. Especially since the camera only has 3 mega pixels. We left the house early one morning before school to stop at Starbucks for a special before school treat. Since we don't do things like that very often I made sure to take pictures to commemorate our time together. Also, it's good to have them for when the kids say - "you never do anything with us"...I can whip out these pictures and show them!
 This is my beautiful niece Kalea. This layout is a Mother's Day gift for her mom ( my sister ). It's going to be so much easier framing this. Those nice $6 Michael's frames will work perfectly. I have to use a shadow box if I want to add layers to my paper scrapping layouts. Which looks good but can be very spency.
 I did this last layout to commemorate my brother's return from Afghanistan. He had been away from his family for 7 months- and I know it was hard on him as well as my sister and Kalea. Thank you for serving and protecting our way of life! I love this photo my sister took. Both of them look so happy being together. Kalea's smile tells me that all is finally right with her world! I'm very glad. Welcome home JR. You were missed.
 My sister called yesterday with a crock pot question. From that we meandered to the comment I owed her a Dry Erase Menu Board. Apparently, I got her confused with my other sister, who said she wouldn't use it. Bad Me. Bad.
 I took 3 different pieces of printed paper ( one for each kid ). I cut the 12" piece of paper in half and then took my punch and edged 2 of the 3 borders ( couldn't have a girly look for my son ).


 I took a circle Nestability and cut a circle out of each piece of paper for the lids.
 I made brownies in Mason Jars for the kids as well ( this is what I decided to do- mostly because money has been a little tight recently...everything is getting more and more expensive- thank you inflation). They were really yummy- I put a Reese's Peanut Butter Egg inside each of them ( I love peanut butter and chocolate)! After they were devoured, the kids looked around for more.
 I made this one for Emma's Piano Teacher, Marcia. I was really pleased with this "grown up version". I was amazed when I found this lined paper in my stash. I also used my Cricut Expression and the cart with all the music on it ( I'm not home right now and I can't remember what it's called). I used the flat glass marbles ( you can get them at Michael's or the dollar store), rub-ons for the initial. Prima flowers were also used with the marbles. They make excellent magnets ( magnets can be found at Michael's or Joann's).
 Here's a close up of some of the magnets. I made 6- 3 for each side of the memo board.
 This is my daughter Emma's- once we got started making these memo boards, she decided she needed one too. These are the colors she chose to use. Definitely not my color choice. She's pleased with it though, and that's all that really matters.
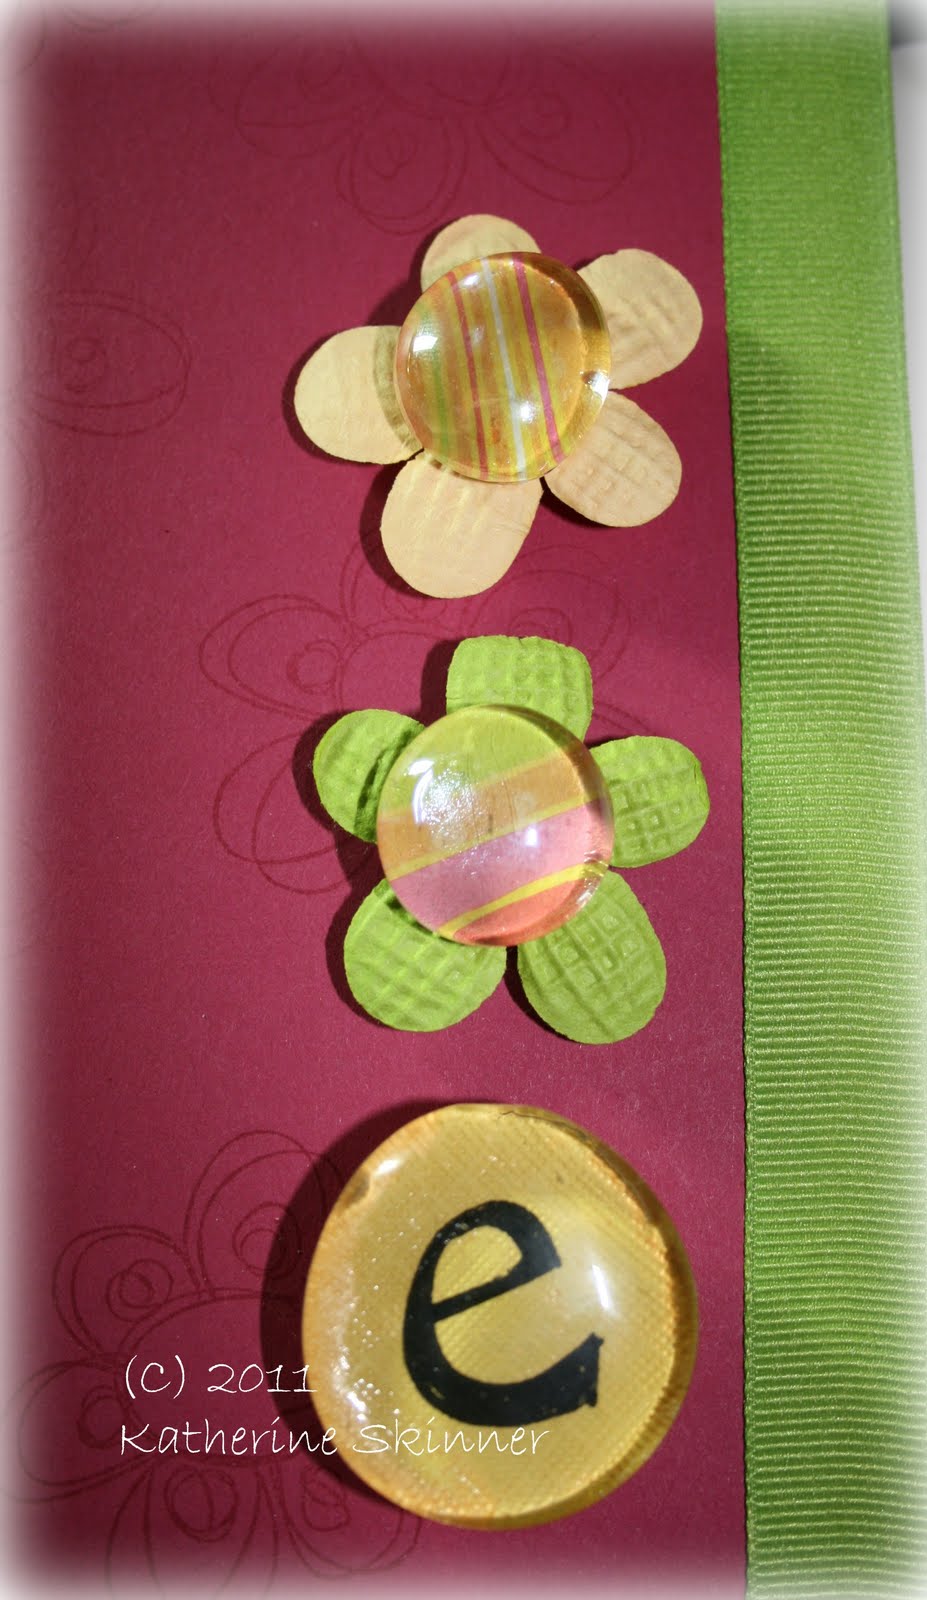 Flowers are from Prima. Marbles are from Michael's. I used rub-ons for her intial.