Monday, July 12, 2010

A Summer Layout & Grandpa's Envelope Mini Album

I used a sketch from Unscripted Sketches (http://www.unscriptedsketches.com/ ). I really liked the way the sketch was laid out. I added ribbon ( twisted ) all the way around the picture border. The paper comes from Imaginese, the letters are Thickers. CS is from SU!


I started making this mini album for my grandpa just after this past Christmas. I picked this project to do at my BFF'S house. We try to get together every year ( usually right before New Years Eve)- a couple of years ago we decided to make sure we had a project to do together. Two years ago it was magnetic memo boards ( her project) and last year it was envelope mini albums. I bought everything for the project before we left town. Anyhow, it took me so long to get it finished because I couldn't decide on the pictures of my youngest niece. With the exception of the pictures of KK- all the pictures are from our trip to Southern California Spring Break 2009.
I don't recall the name of the paper line- but, I did use my Bind it All to bind the album together. Ribbon is from Martha Stewart, buttons are from my BFF ( Thanks Kathryn, they were perfect!), I also used rubons and bling-all from my stash. The CS is from SU!- Chocolate Chip.
Now, that this one is finished- maybe it's time to start another project. I'm thinking of using wood blocks. We'll see. I need to talk to my BFF- and do some research. I have the best Dad- he said that if I brought wood over- he'd cut it in pieces for me. :)




Friday, July 2, 2010

Dry Erase To Do Boards

I Really love LOVE these dry erase To Do Lists. I use mine every day. I have plans with the kids to make them each one- hopefully, they'll actually use them this up coming school year. I made the one on the left side for my beautiful niece- her favorite color is red-but, since in order to be able to see what you're writing the color has to be light- I chose a lovely light blue print. Both frames came from the dollar store ( YAY ). I bought them unfinished and then painted them white and added polka dots ( red for Taryn and blue for me) . I used the paper in my stash. All the paper comes from SU! I cut the numbers out in vinyl using my Cricut Expression- the title was also cut using the Expression. This project came together really quickly- if I hadn't painted the frames - the time spent on these boards would have probably been around 30 minutes.
I have to say- there is a certain amount of satisfaction using these boards- to actually be able to see what you've accomplished during your day- AND being able to cross it off- Well, it's a good thing. I've been known to put something on the list that I know will get done- just for the satisfaction of crossing something off. It feels really good. :)


Thursday, July 1, 2010

Sunny Family Day Mini Album


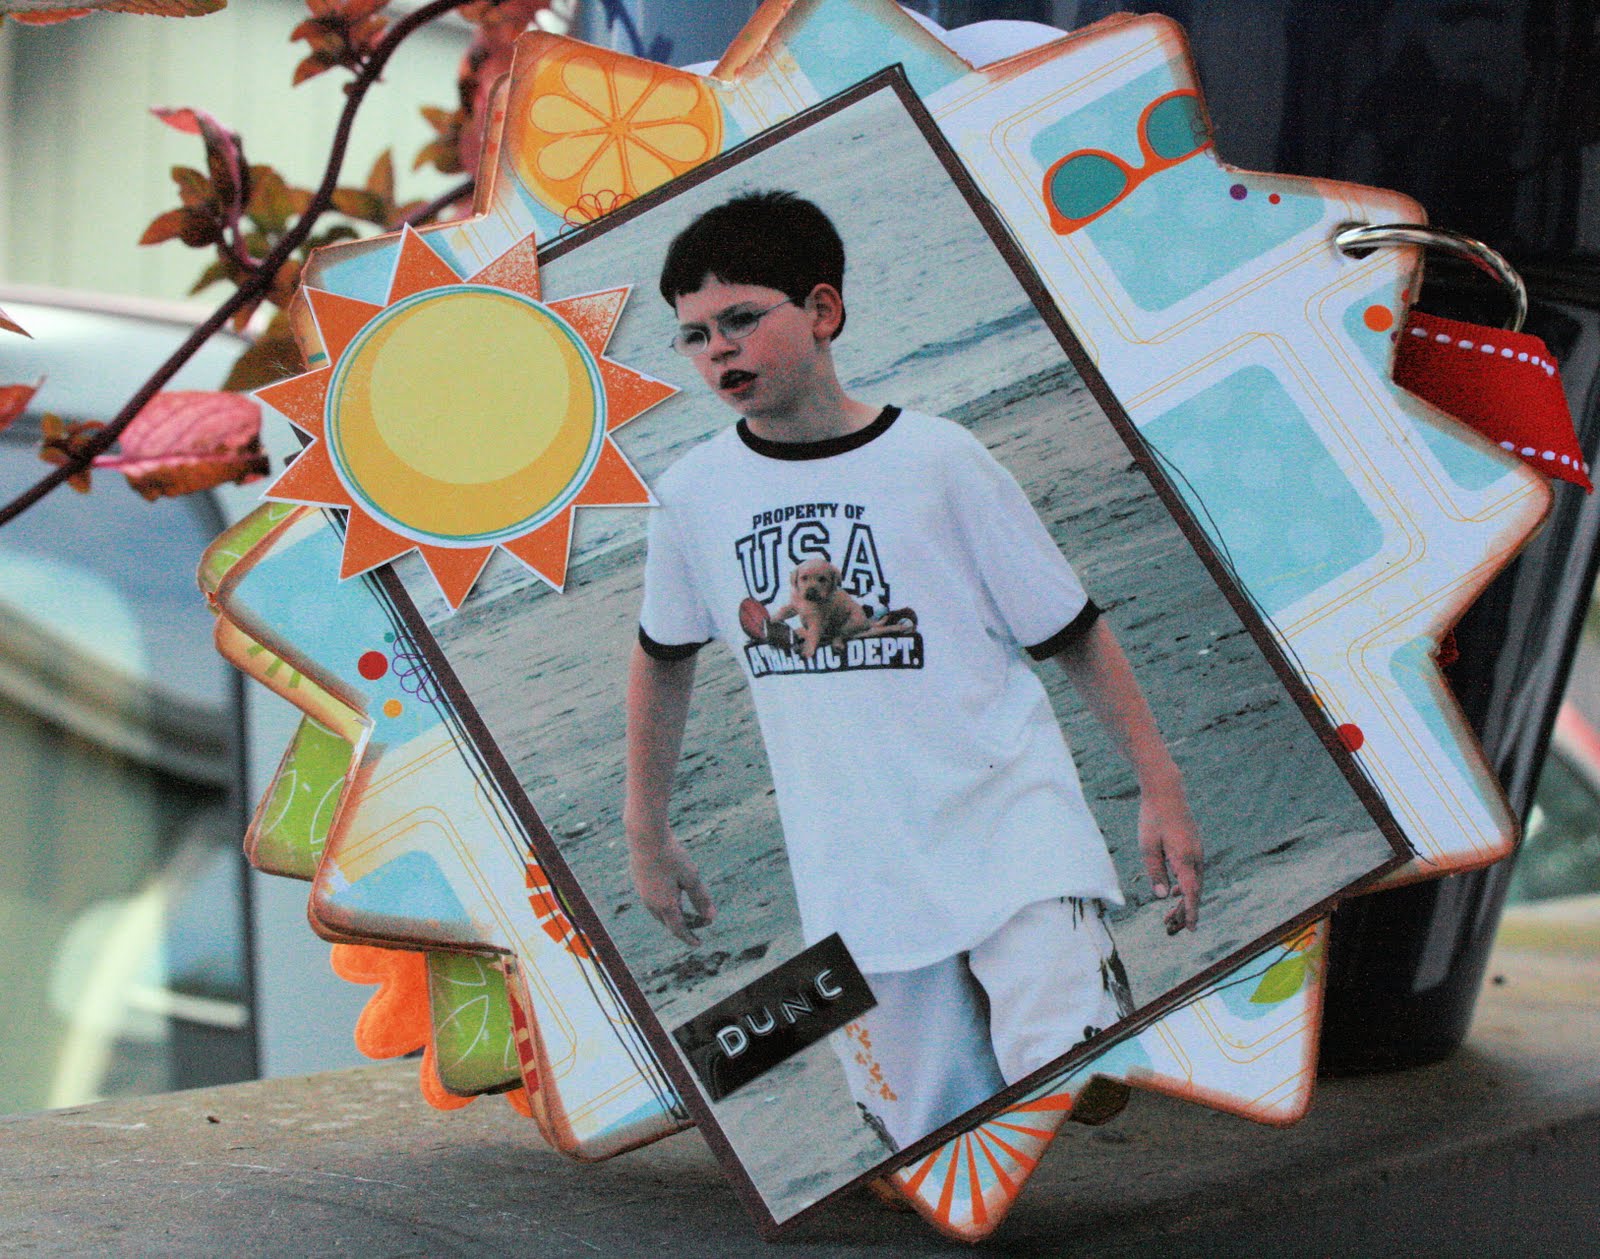
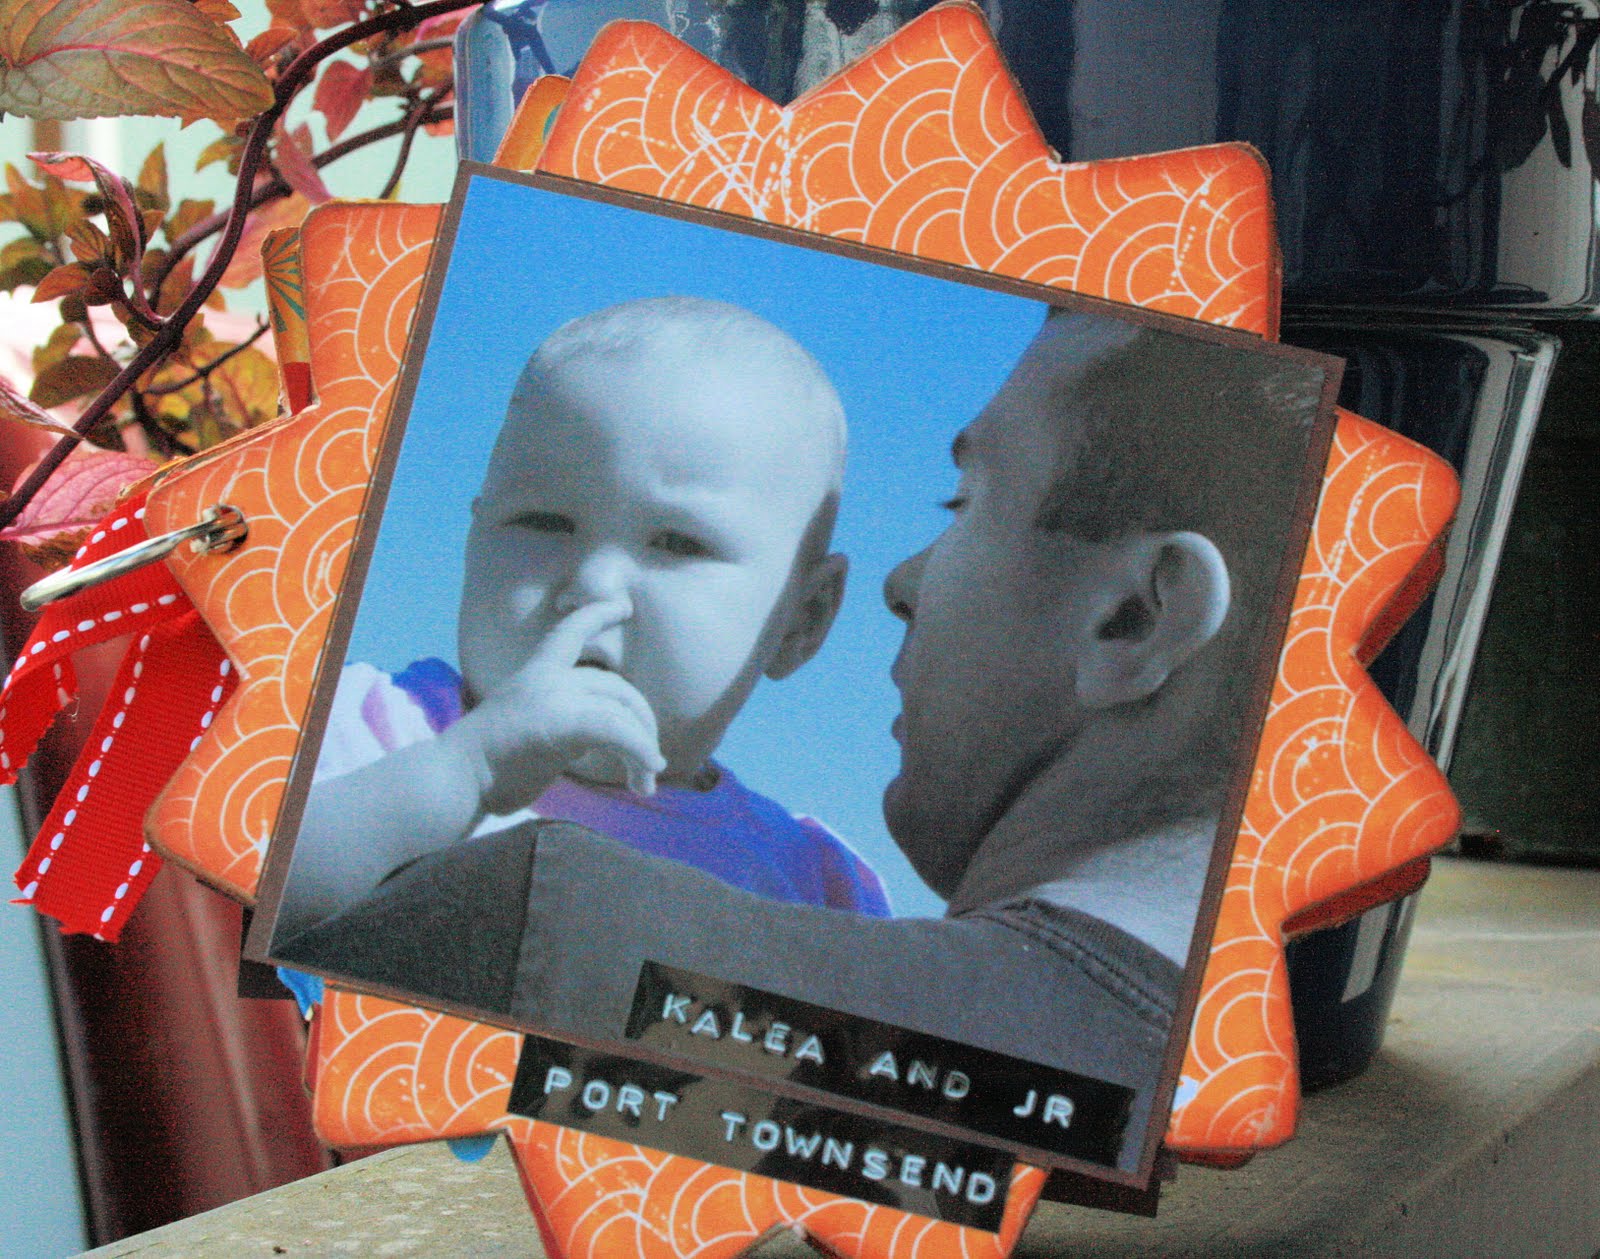
In the summer of 2008 my sister and her family took their vacation in Washington. I managed to snap a few pictures to remember the events.
I love mini albums. They're pretty quick to put together- it's almost like instant gratification! I really like that. If only every day life worked as well.
The album is chipboard shaped like a sun. I got it from the dollar bin at Michael's. Love that. Things for a dollar. Paper comes from my LSS- it's from Bo Bunny- ( the a gift of love line ). I normally don't go for paper that's this bright. But, the day we spent at the beach was dreary and overcast- and they seemed to call for bright, cheerful paper. I also used bling from the same line- and I was super excited to find some puffy flowers in coordinating colors. All the pictures are mounted on Chocolate Chip cardstock ( from SU!)- I "journaled" using my label maker. The ribbon on the ring is from SU!
I think there will be some more mini albums made this summer. Just the thought gives me "warm fuzzies". :)


Sunday, June 13, 2010

My Newest Obsession-& End Of The Year Teacher Gifts


I have my BFF to thank for these wonderful tea light holders. She always finds the most amazing things to make! I decided to take a page out of her book and make some for the girls' teacher gifts. They were so much fun and so EASY to make.
I used wide mouth half pint jars. I cut out an apple die cut using my Cricut machine ( though- if you're good at drawing you could certainly free hand your own fruit). Next I placed the die cut apple on my mason jars- then I took my can of Valspar Frosting Spray ( Lowes $ 4.95) and sprayed it all over the jars. Super Easy! I couldn't believe how fast everything dried. My Bff used Wide mouth pint jars ( her apple is MUCH cuter than mine) and very cute colored ribbon as an accent. Her jars are here: http://craftykat-mycraftyplayground.blogspot.com
You should really check them out! I placed tea lights inside the jars- then wrapped them in white tulle- tied off with a red ribbon. These are for all the "girl" teachers. I can't wait to try this technique on clear glass plates- or maybe little hurricane candle holders. Just imagine all the gifts you can make!
Both my girls have "boy" teachers....I'm pretty sure that they wouldn't be delighted to get pretty smelling candles in a cute holder. So, we went back to basics for them. I made yummy little cookies and brownies ( baked in mini cupcake pans ) stuffed with Reese's Peanut Butter cups. Once they were cool- we placed them in cellophane and then inside these cute little red bags. I tied them off with white ribbon- just for fun. I didn't intentionally set out to coordinate the colors- I guess I'm just that good. :)
Thanks for stopping by. I hope you'll give this little gift idea a try- and be sure to stop by Kathryn's blog and take a look at her jars!

Tuesday, June 8, 2010

Dry Erase Menu Board ( & A Teacher Gift)

I got the idea to do a dry erase menu board from my bff Kathryn. I was just using my regular ( old ) dry erase board. It's on my refrigerator for our grocery and drugstore lists. I was running out of room for everything- so this idea came at just the right time! I used paper and ribbon that I already had in my stash- so the only thing I had to purchase was the frame which I bought at Michael's. It was unfortunate that I didn't have a coupon ( for 40% off)- still it was only $10 which really isn't too bad. Normally, I would have waited for a coupon before buying the frame- but I was feeling creative and wanted to be able to put it all together when I was finished. The project was super quick and easy. I think it took me just over an hour to put it all together ( that's if you don't count all the interruptions I had yesterday). It probably wouldn't have taken that long if I didn't stickle all the letters. Anyhow, everything I used on this project was from SU!
I finished this project up yesterday morning. It's a thank you gift for Duncan's advisor, Chuck. I made peanut butter cookies with mini chocolate chips. After they cooled, I placed them in a celophane bag ( from SU!), I stapled it shut. Then I took a piece of Night of Navy CS ( from SU!) about 6" X 5" and folded it in half over the bag ( stapling again ). Next I cut out a 5 3/4" piece of light blue cs ( also SU!) for both the card and the treatbag. The "Thank you" I cut out with my Cricut.

Tuesday, June 1, 2010

Pen Project and The Angel Co.

I've been saving these 16 oz. green bean cans for a while. It's been my plan to re-purpose them and turn them into this Copic marker holder. I really like the fact that I was able to take something that I already had in the house and turn it into something cute and functional. Before I wasn't able to store my Copics on my craft table- I didn't have the kind of container that I wanted- in fact, I couldn't find anything in any store to meet my storage needs. I'm pretty sure the Copic people recommend storing the pens in a horizontal position. Now, I have them stored by color on my craft table, and I'm thrilled! It's easy access all the way BABY!

Isn't it awesome? I really love having the markers organized by color and sitting on my table. I was so excited about having them there- that I made two cards last night- and I finally noticed that my cool grey #1 is dried out- and I have to order a refill for it. I'm very sad about that... I use it a lot.
I think I'll be using this card as a template for my father's day cards this year. I have 6 to make- for all the Father's in our lives. The image is from The Angel Co. I colored it with my Copics ( and I think that for the first time ever- I really like the way it turned out), paper is from CTMH ( the Serendipity collection from a couple years ago), CS and ribbon are from SU!


This little girl is also from The Angel Co. She came in the same set as the little fishing boy. Paper is from The Angel Co. ( From the Mimi collection), ribbon and cs are from SU!
Tonight, I was trying to organize my paper - and the storage system that it's in. What I found was really depressing. The more I organized, the bigger the mess! Is it no wonder that I would rather have my teeth pulled than organize my stuff? I went from that to trying to put my layouts in scrapbooks. I don't seem to have enough scrapbooks for this-I have many, many more layouts to put in scrapbooks. I guess I'll have to order a few more from Stampin' Up! this month. I don't scrap in order- I tried that, but I got scrapper's block. So, now I just do a free for all- whatever I feel like scrapping gets scrapped. I guess this is why I didn't notice that I had so many layouts- and not enough albums to put them in. I really recommend paying more attention to this than I did- as some of my layout ended up a little warn....
I guess I didn't have enough adult conversation today- my BFF is in the process of moving- she's been super busy so we haven't had our weekly ( sometimes daily ) conversations. It's been tough. :) This is why I just blathered on and on tonight. My apologies. Have a great week and thanks for stopping in!


Monday, March 22, 2010

Animal Crackers- Gift Boxes

The other day I was looking for something cute and fun to do-when I stumbled across a tutorial for these super cute little boxes. I found them Here: www.inky-doodles.blogspot.com
I hope you'll stop by and check her stuff out- she's amazing! You'll find that Tracy used a Coluzzle to cut out an oval in the center of her box. I was very sad to find out that the Coluzzle is no longer being made. I have the circle and square ones- neither of which worked well. So, I just decided to make them without the center cut out- it's just as cute ( I think ). The paper on the first box is from the My Mind's Eye- Home Glitter paper pack ( I heart this paper)- the stamped image is from The Unity KOM for March ( I heart this month's KOM!).
The black and red box is one that my daughter Linsea and I made for her bff Kristie- we filled it with lots of yummy chocolate ( after all, what teenage girl doesn't like chocolate??). The paper is called Glitz and I bought it at my lss ( The Scrapbook Zone). I love how it looks- so grown up.


On another note- I have been loving our early Washington Spring weather- it's not too hot, not too cold..but with some really nice sunshine. I have missed the sunshine. Welcome back Mr. Sun!


Thanks for stopping by. Have a great week. I hope you get to do something fun!